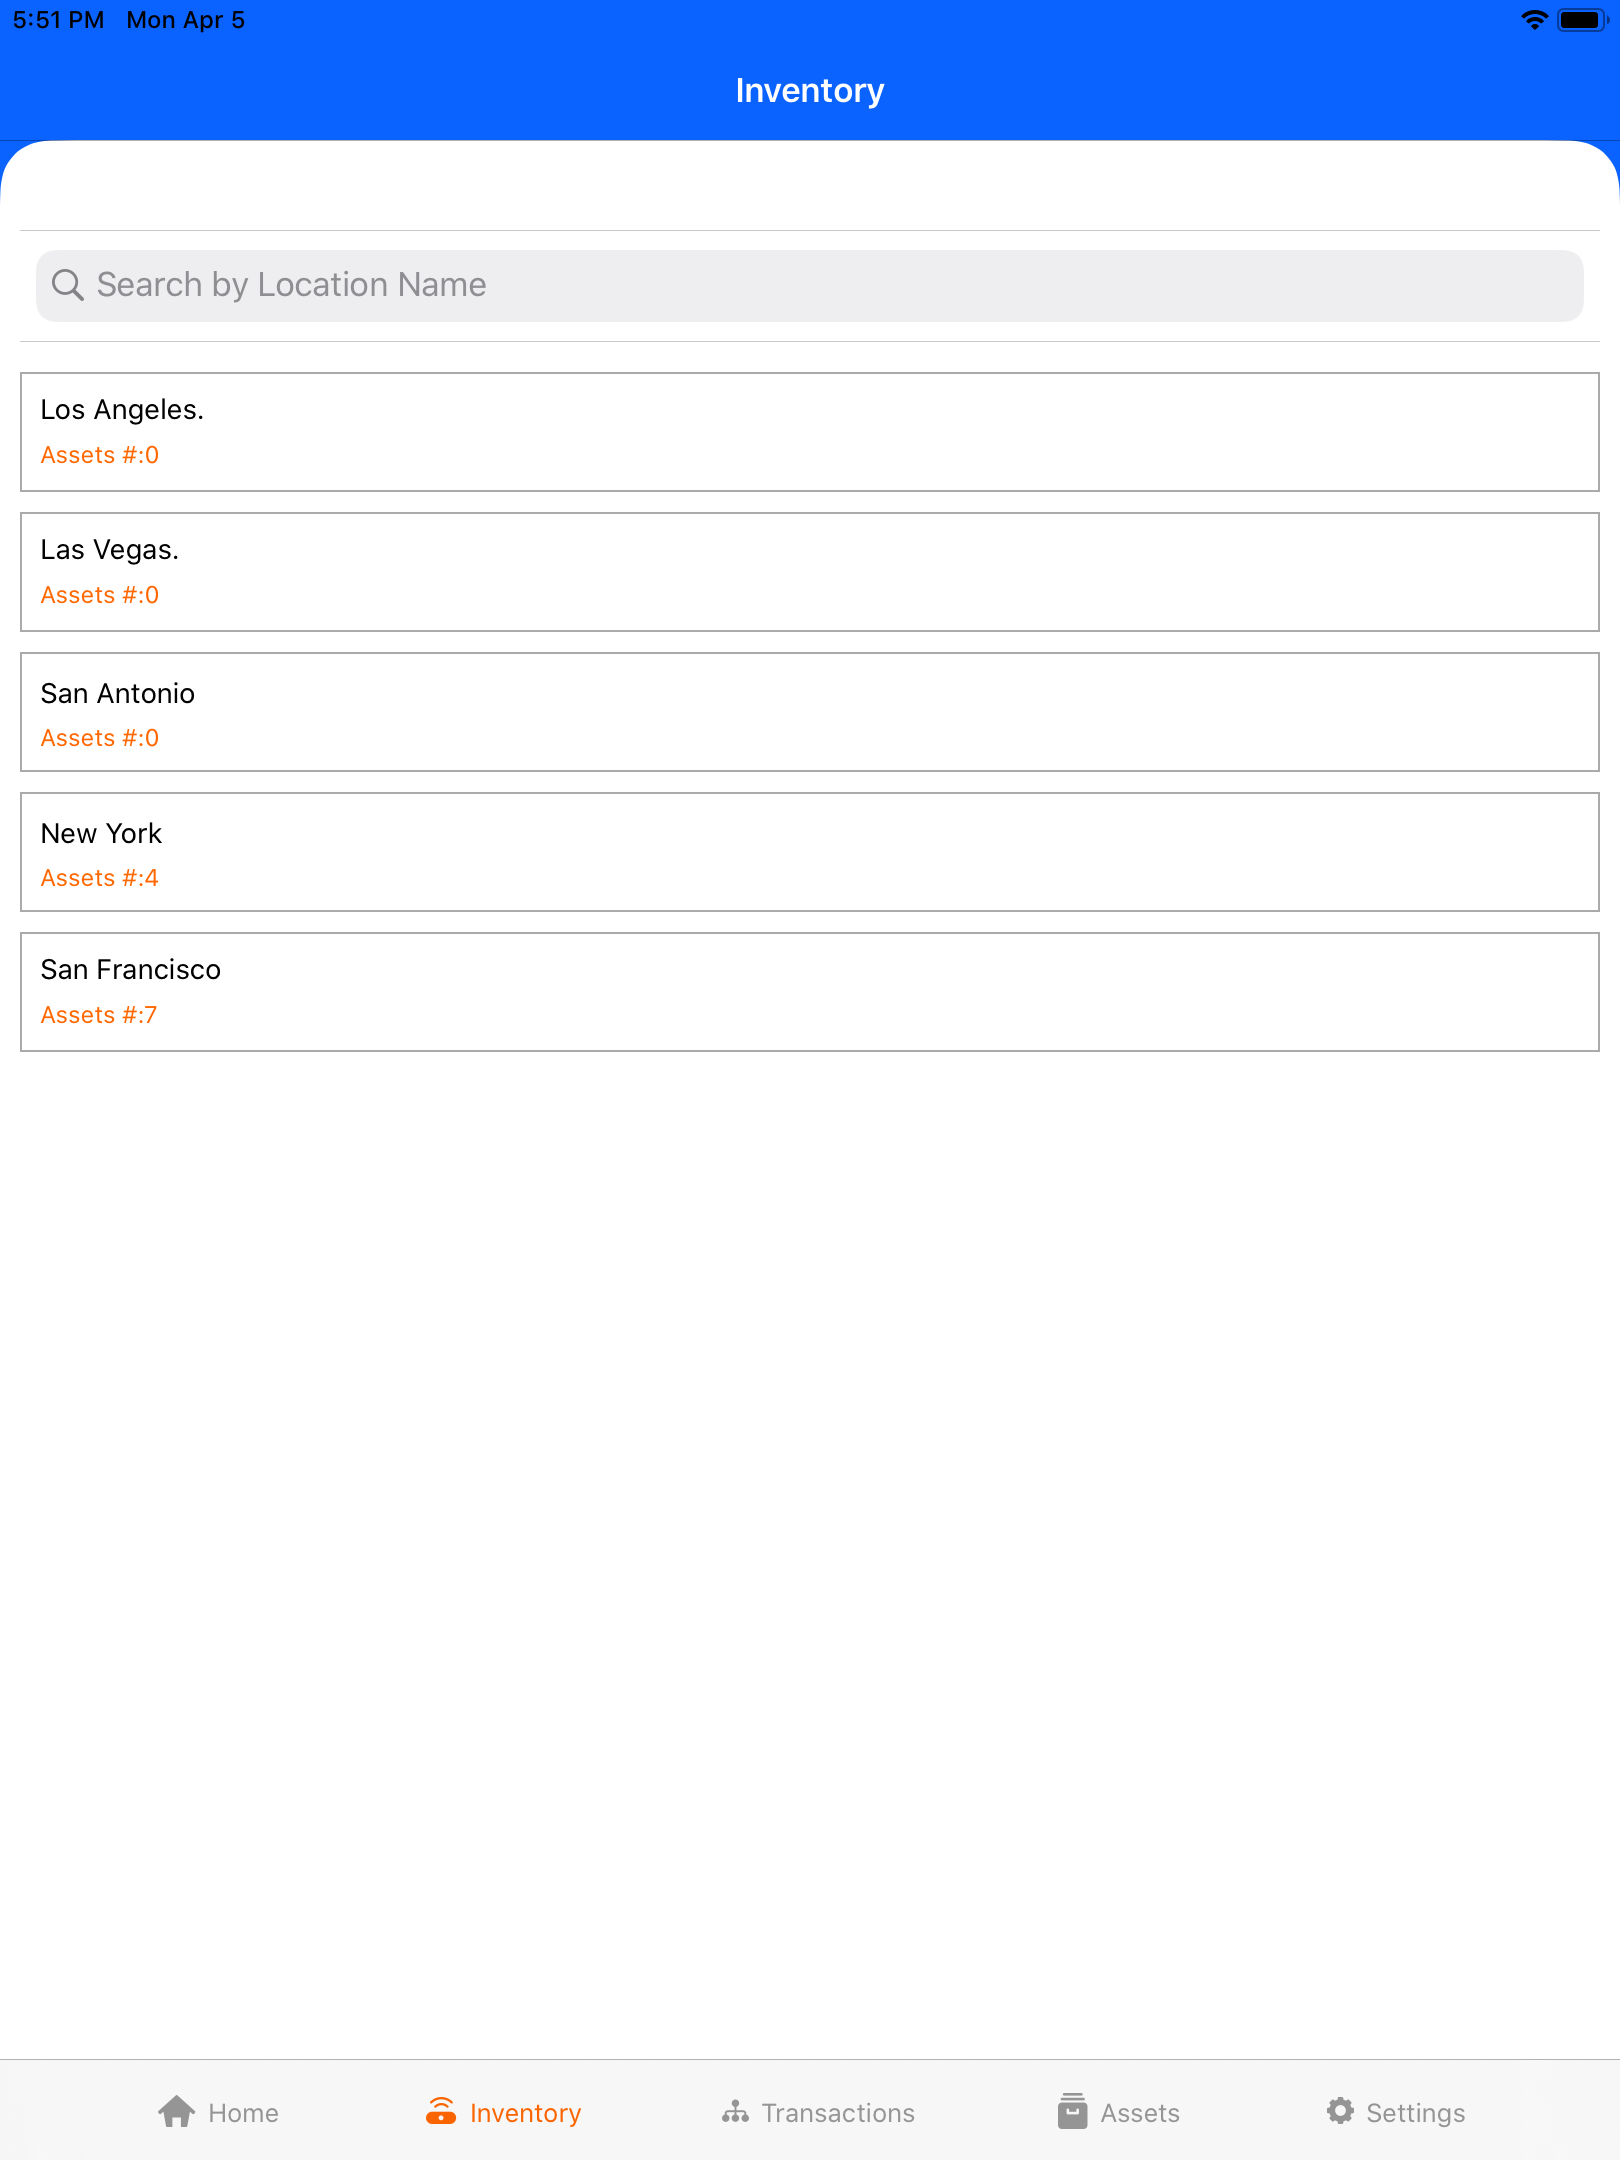

This article briefly explains how to do the Inventory process for a particular location in the TagMatiks AT Lite application.
Go to Inventory & click Select Location.
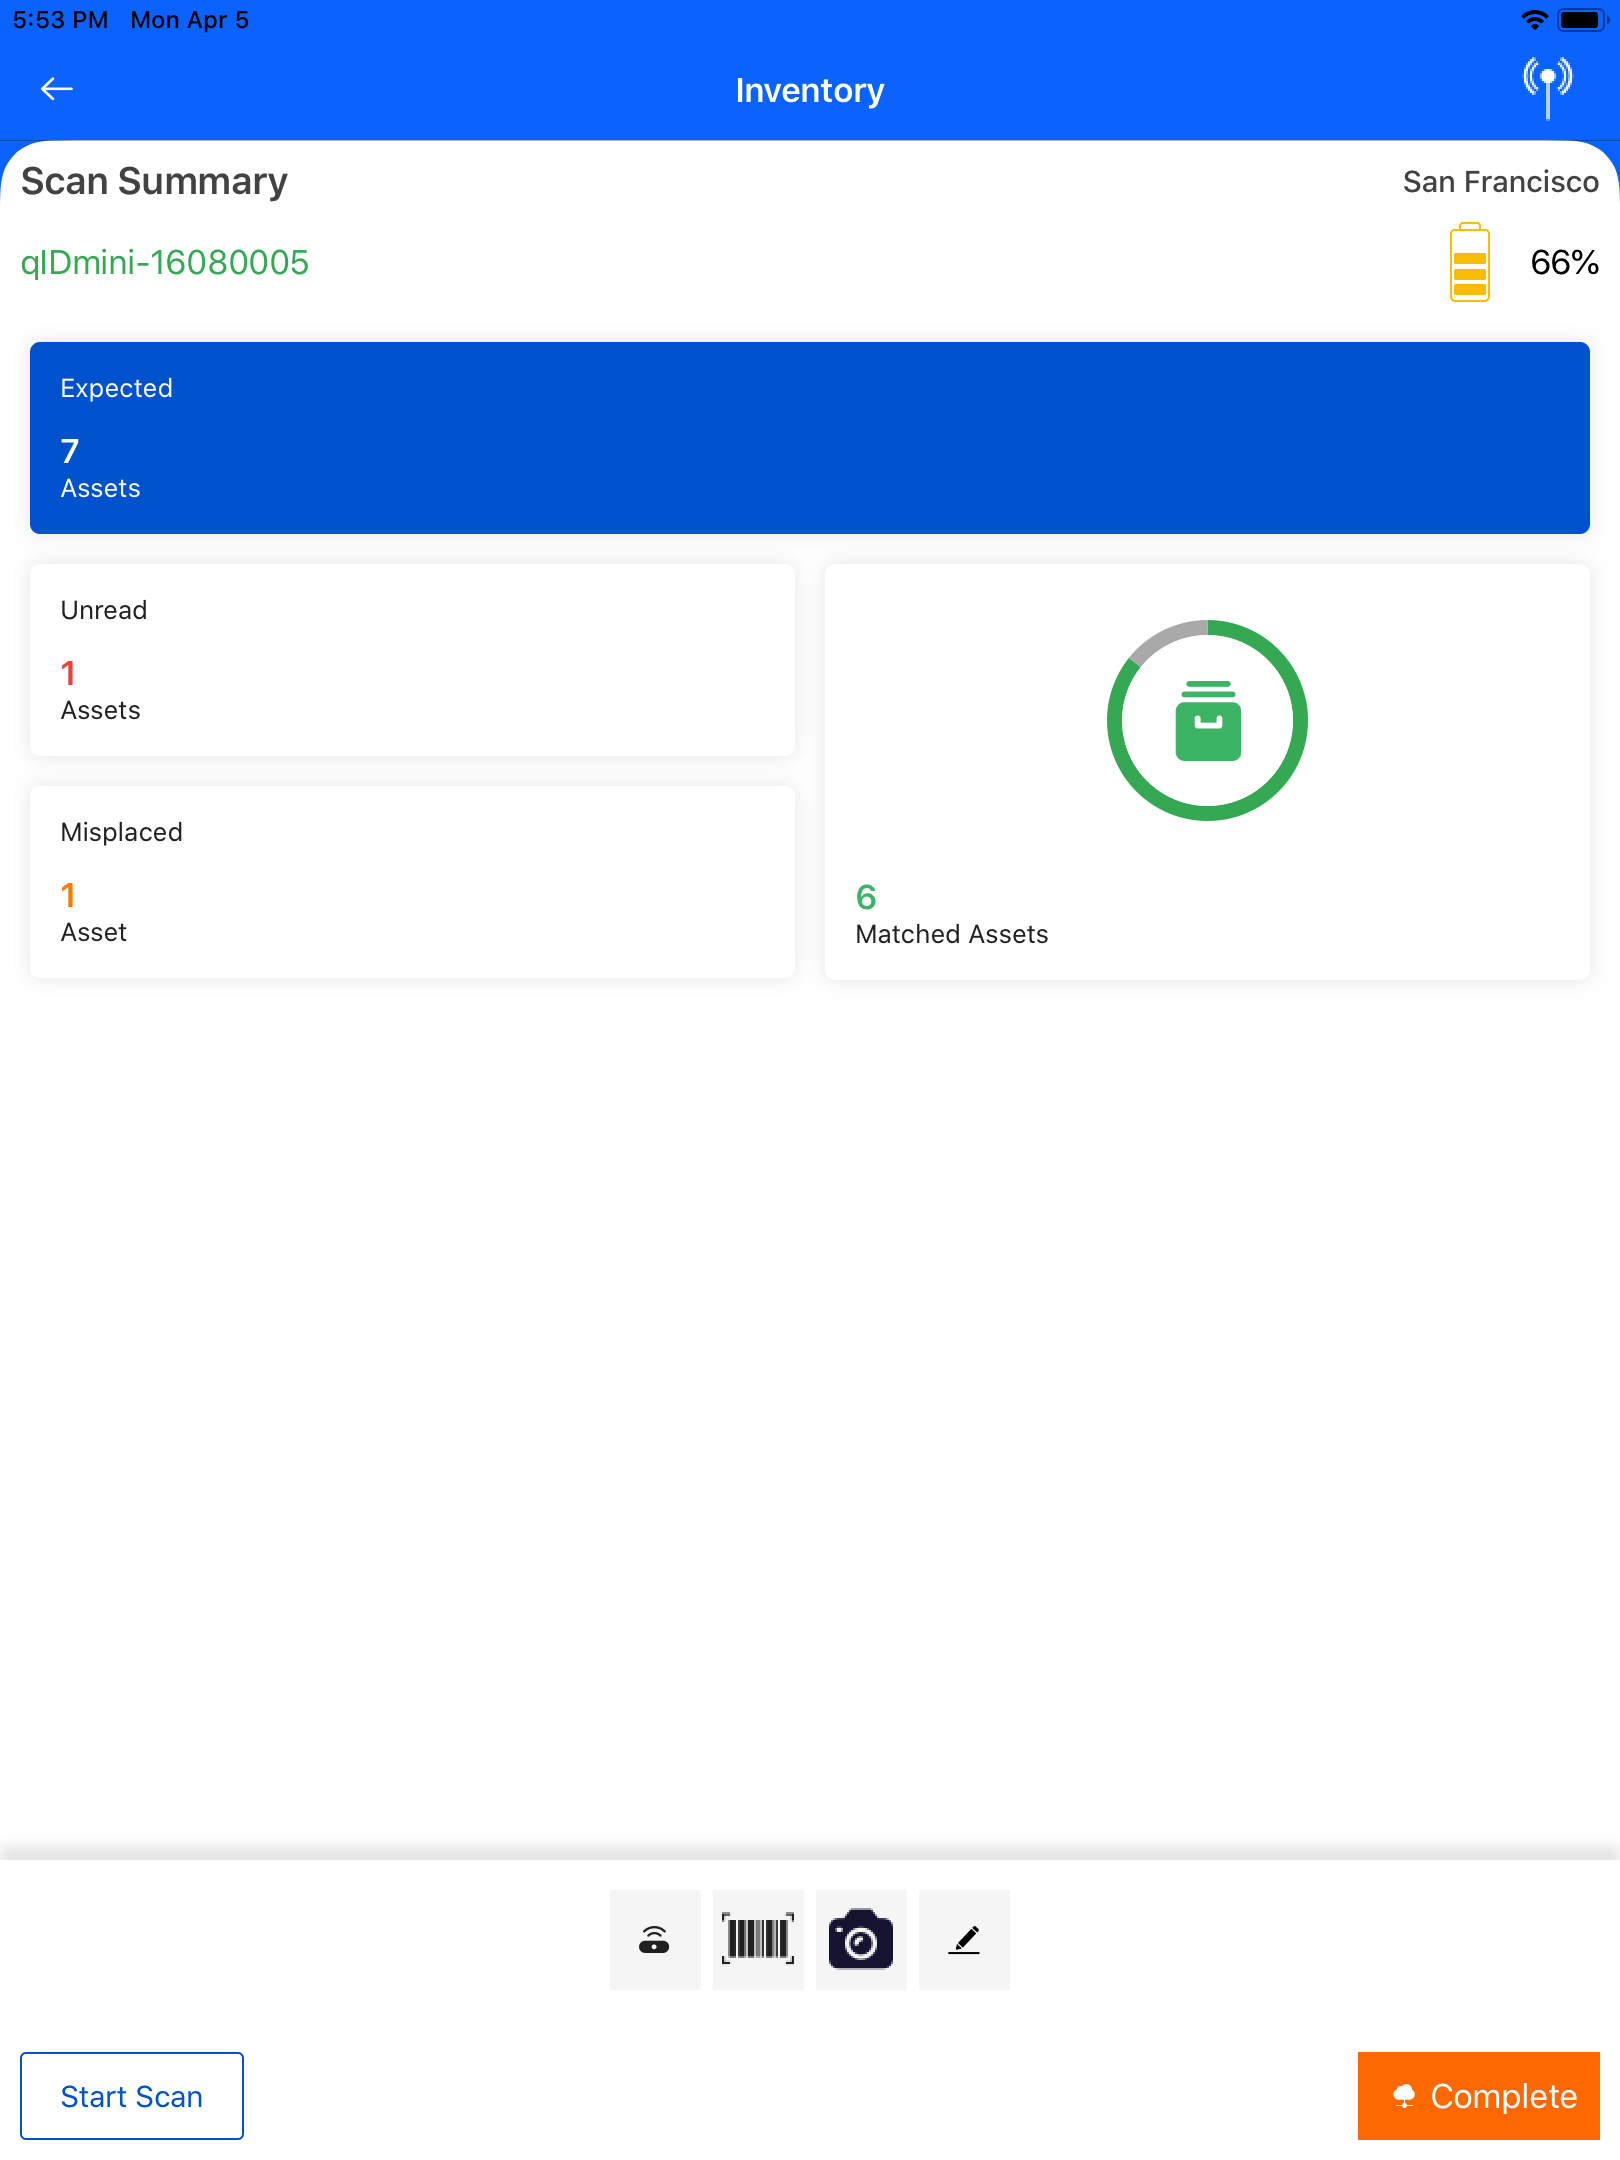
Selected location assets count is updated in their respective fields based on their status.
Assets can be scanned with the help of RFID readers or else can be entered manually.
After connecting the RFID Handheld readers to scan the asset tag id. Asset name, location, and tag id can be displayed out in the check-out screen based on their scanned tag id. While scanning, assets that are already in the check-out state are displayed in a different color.
Barcodes can be scanned through the barcode scanners or using the device camera.
Select the manual entry icon then it’s redirecting to the manual entry page. Here we have two options to select the asset.
Another option, select the part details then it’s redirecting to the part details page. Assets mapped with the selected part details are listed below with their part number, serial, tag id, location, expiry date, and asset status. Here the assets that are in In-stock status can be selected for the check-out process.
After completing the scanning process, click Complete to finish the inventory process.